
How to Add Frames in Canva's Video Editor
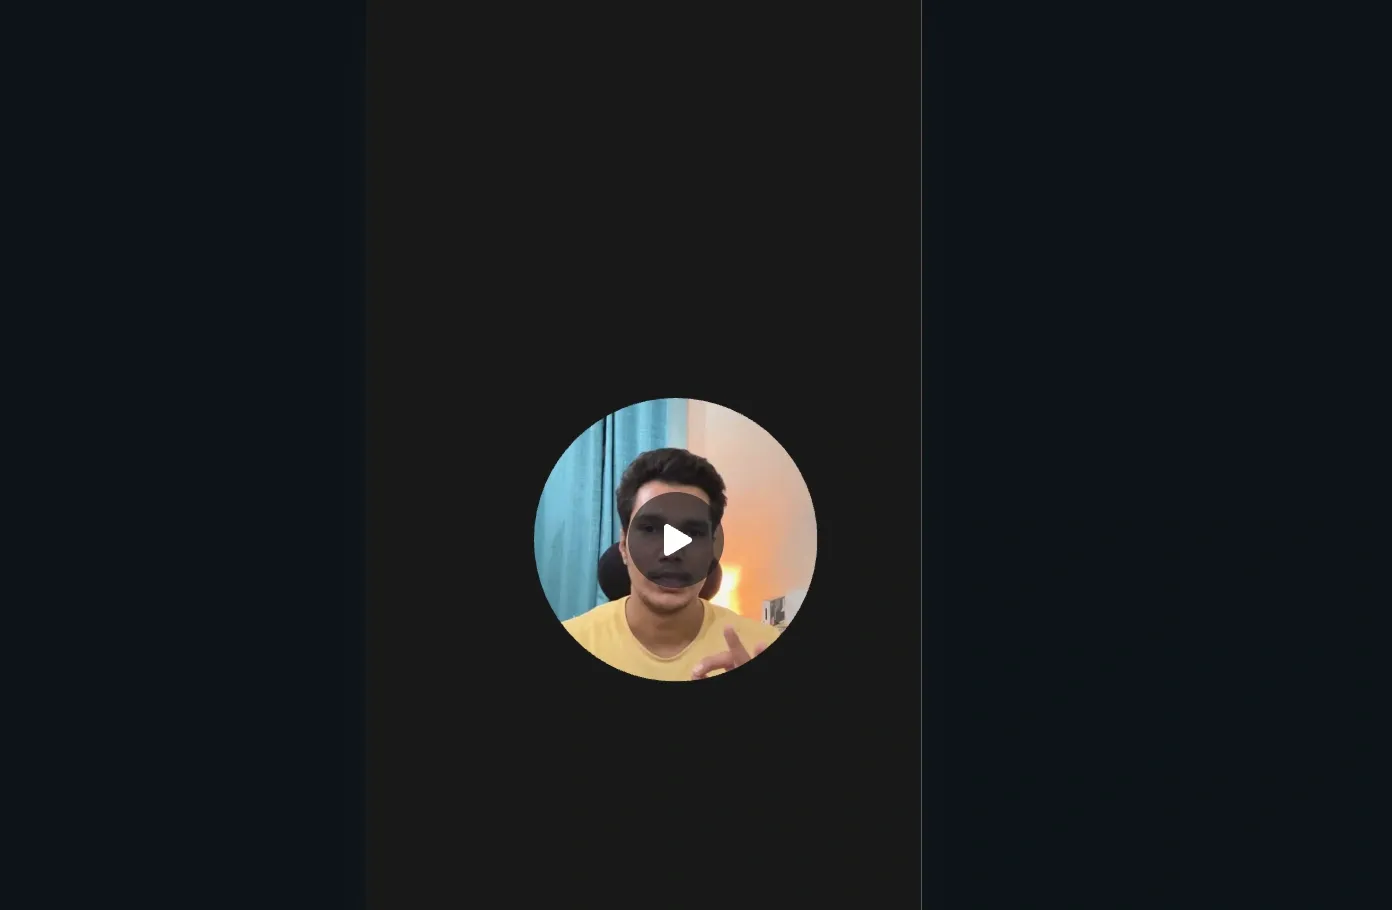
Frames let you crop images/videos into shapes (circle, square, phone mockups, etc.) for a creative look.
How to Add Frames in Canva’s Video Editor
Frames let you crop images/videos into shapes (circle, square, phone mockups, etc.) for a creative look.
Canva's Video Editor
Step 1: Start a Project
- Log in → Create a design → Video format (Reel, YouTube, custom).
- Or open an existing project.
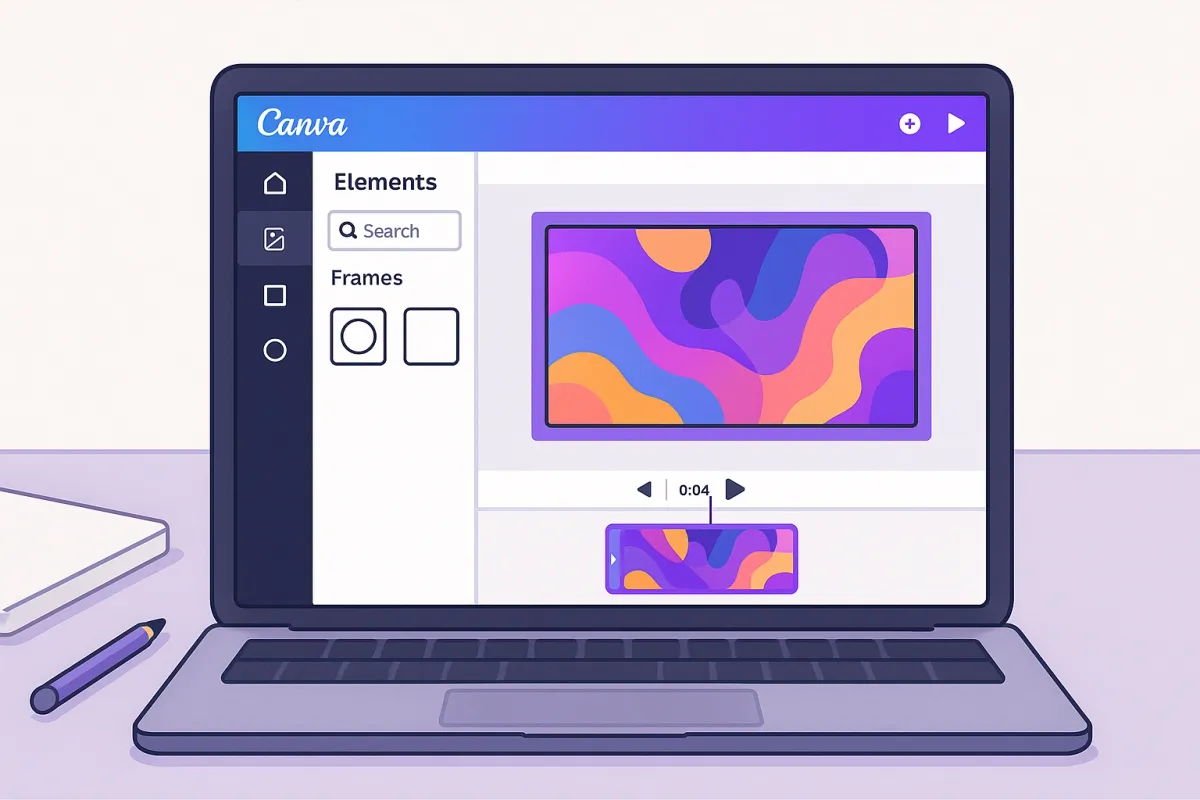
Step 2: Find Frames
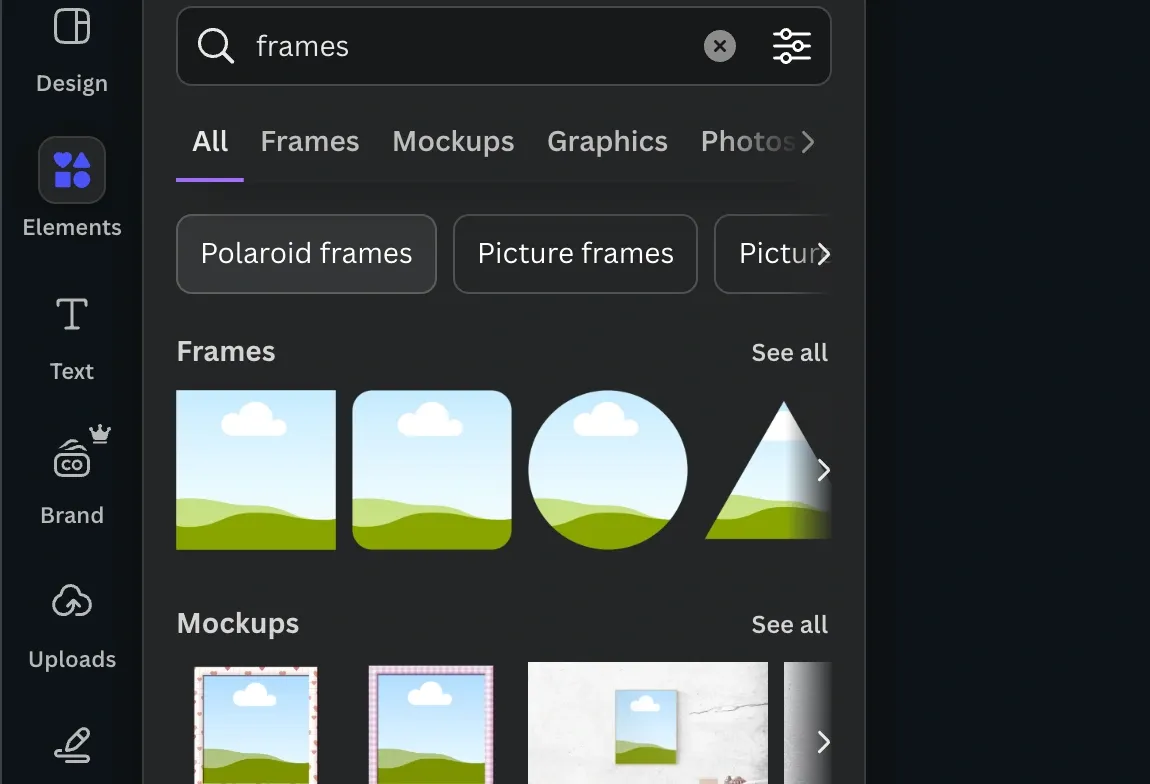
- Go to Elements → Frames (or search “Frames”).
- Choose shapes, creative designs, or mockups.
Step 3: Add a Frame
- Click to add on canvas.
- Resize/rotate as needed.
- Place it in the timeline.
Step 4: Insert Media
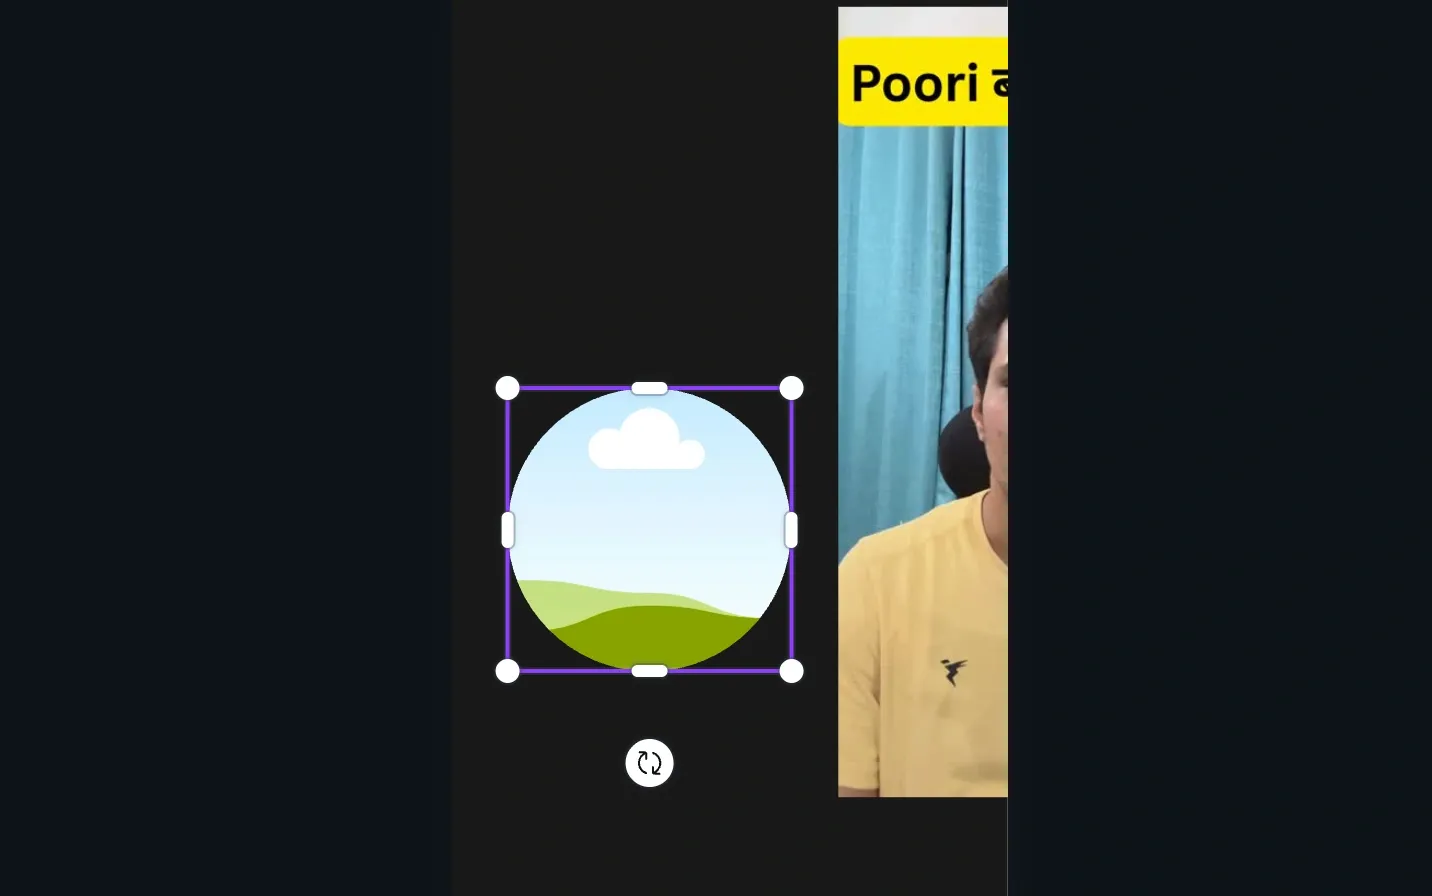
- Images: Drag from Uploads/Photos → snaps into frame.
- Videos: Upload or use stock → drag into frame → plays within shape.
- Double-click to adjust fit.
Step 5: Customize
- Change color, border, filters, effects.
- Add animations (fade, pan, rise).
- Use Position to layer.
Step 6: Preview & Export
- Preview with play.
- Adjust duration or group frames.
- Export: Share → Download → MP4 (no watermark, even free).
Tips
- For full video crop → use Crop tool.
- Mobile: + → Elements → Frames.
- Media not snapping? Drop it in the frame center.
- Canva Free is enough; Pro gives more frames + background remover.
Thanks, and join our whatsApp community for the latest Updates.
SchoolOkay | WhatsApp Channel
SchoolOkay WhatsApp Channel. It’s a channel for sharing educational content. 0 followers

Thanks and share.

Comments ()